Step 1
To begin the configuration, access the Charms Bar by pressing Windows Key + C or swiping in from the right side of the screen.

Step 2
Select Settings. Then select Control Panel.
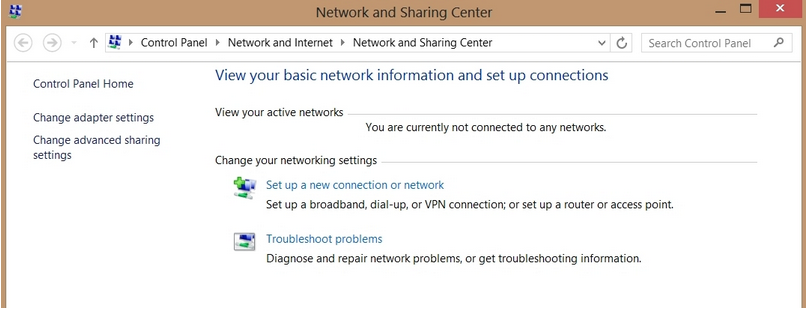
Step 3
Select Network and Internet. Then select Network and Sharing Center.
Step 4
Select “Set up a new connection or network.”
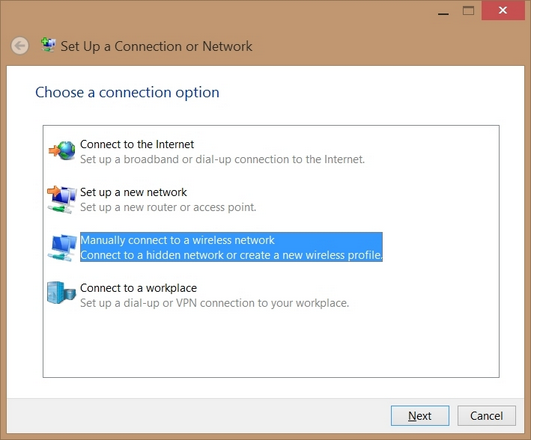
Step 5
Select “Manually connect to a wireless network.”
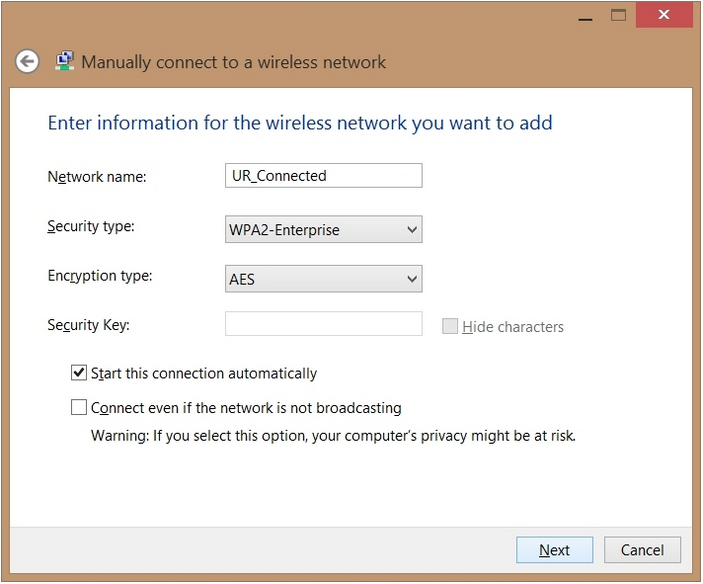
Step 6
Enter the following UR_Connected network information:
- Network name: UR_Connected
- Security type: WPA2-Enterprise
- Encryption type: AES
- Check “Start this connection automatically” box
Step 7
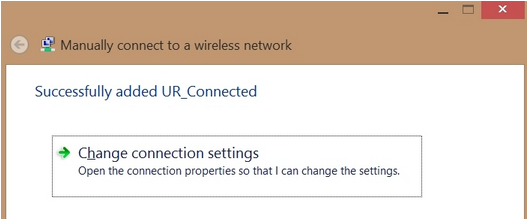
Select Next. You will receive a notification that you have successfully added UR_Connected to your available networks.
Step 8
Select “Change connection settings.”
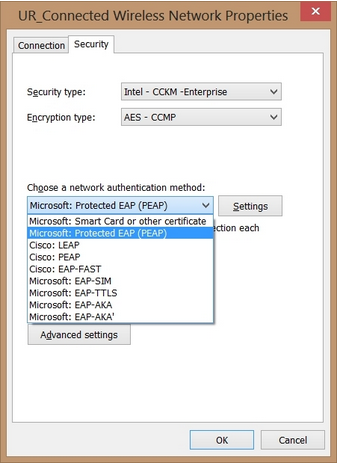
Step 9
Select the Security tab. Then Select “Microsoft: Protected EAP (PEAP)” from the network authentication method drop-down menu. Then click on the Settings button to the right of the drop down menu.
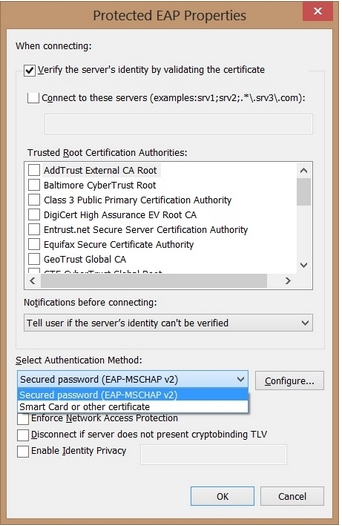
Step 10
In the Protected EAP Properties window, select “Secured password (EAP-MSCHAP v2)” from the Authentication Method drop-down menu. Select OK to complete the configuration.
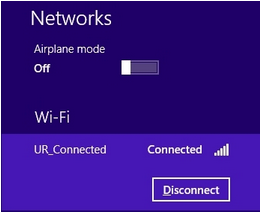
Step 11
Access the Charms Bar by pressing Windows Key + C or swiping in from the right side of the screen. Select Settings. Select Available.
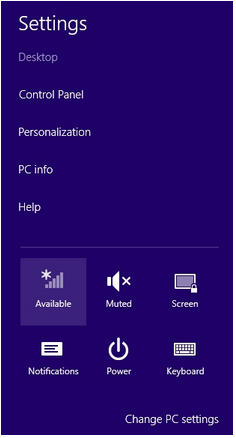
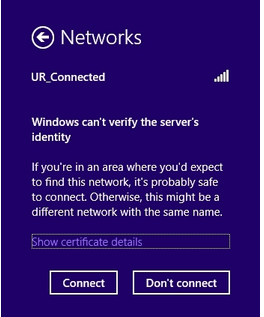
Step 12
Select UR_Connected and choose Connect. If prompted to verify the connection, choose Connect.
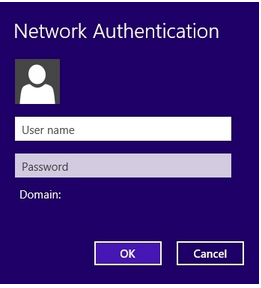
Step 13
When prompted, enter your UR Active Directory user name and password. If you do not know your user name, you can visit the MyIdentity page to view it.
Step 14
You are now connected to UR_Connected.