
If you are migrating from Exchange 2010 to Office 365, follow the steps below. If you are a new Office 365 user at the University, refer to the steps in this tutorial
Requirements
- Outlook 2016 for Mac
- Outlook 2011 for Mac
- One of these supported web browsers:
- Chrome
- Firefox
- Safari
Step 1
Launch your Microsoft Office for Mac Outlook client by navigating to:
- Outlook 2011 = /Macintosh HD/Applications/Microsoft Office 2011
- Outlook 2016 = /Macintosh HD/Applications
Step 2
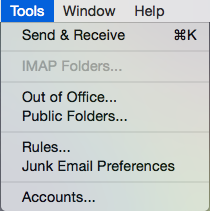
After Outlook is launched, click on Tools > Accounts
Step 3
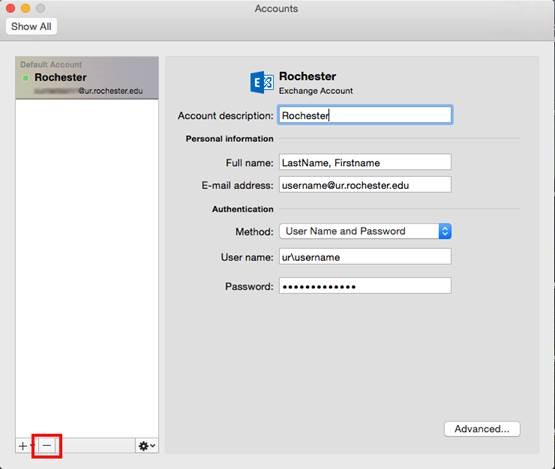
Highlight your account, then press the minus button (-) in the bottom left corner
Step 4
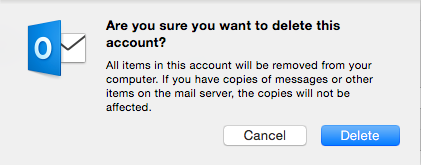
Confirm your deletion by clicking on “Delete.”
Step 5
Once removed, you’ll be brought back to the Accounts window, click on the button for “Exchange or Office 365″

Step 6
Enter your primary email address in the “E-mail address” field. Enter your username and password. Make sure “Configure automatically” is checked, then click Add Account.

Step 7
Check the “Always use my response for this server” option and click the Allow button.
