Follow these steps to print from a lab computer or kiosk, or wirelessly from your own computer.
Step 1
You should preview every print job to ensure the quality of the job. Neither the library nor University IT offers refunds on print jobs.
To preview your job:
- Click on the file menu
- Select Print Preview
- Click Zoom In to review details and Next Page and Prev Page buttons to navigate page views
Step 2
Go to File Menu and select Print.
From the menu that appears, select the B&W or color printer.
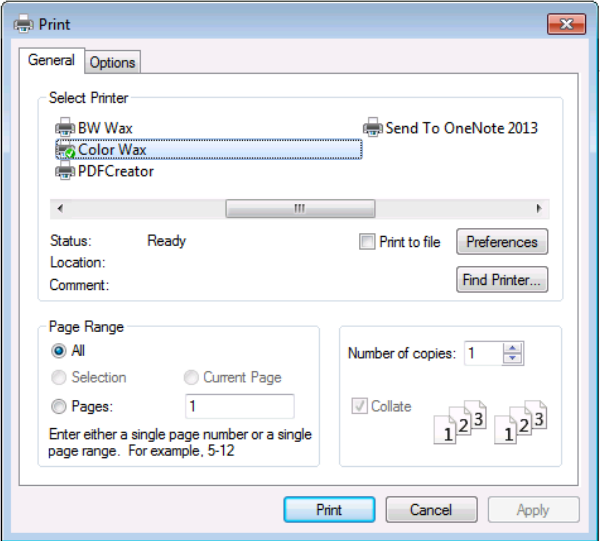
Step 3
Click the Preferences button to choose one sided or two sided printing and other print options. Click Apply.
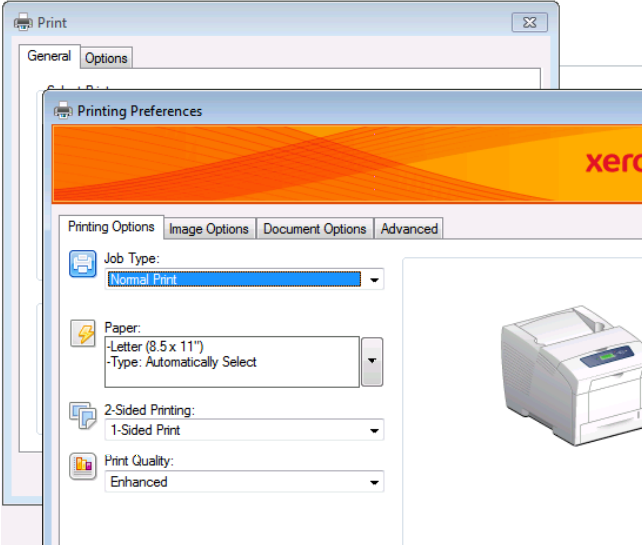
Then click Print.
Step 4
After clicking print, the Print Job Details screen will appear.
In the blank fields:
- Name your print job so it is easily identified at the print release station
- [Optional]- Add a password to guarantee only you can release this print job at the station.
Then click Print.
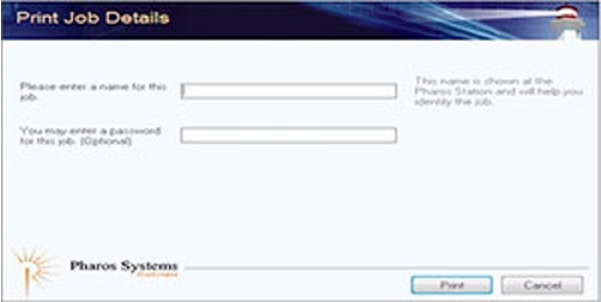
Step 5
A screen will come up that displays the total cost for your print job. Click OK.
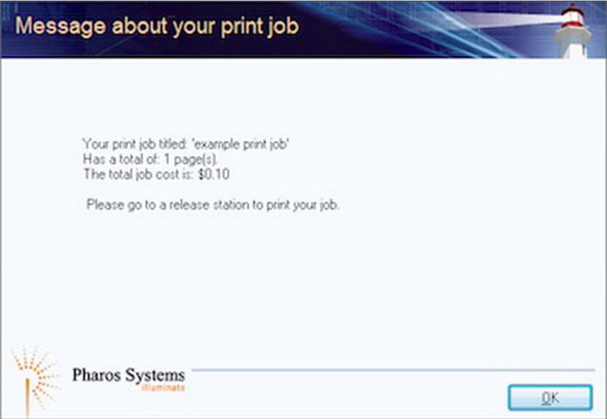
Step 6
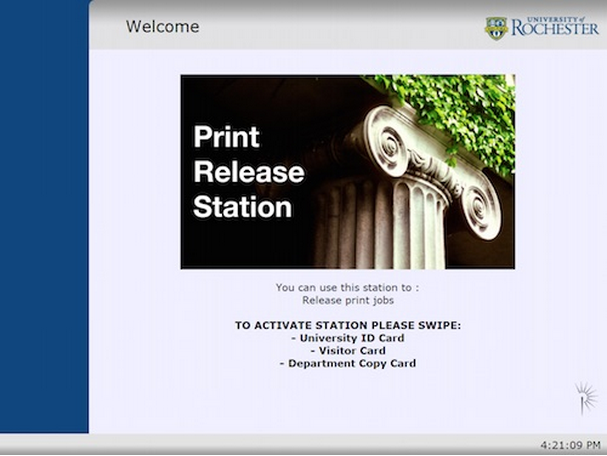
Locate the nearest print release station. You will see the following display:
Step 7
- Swipe your University ID or Visitor Card in the keyboard card swipe
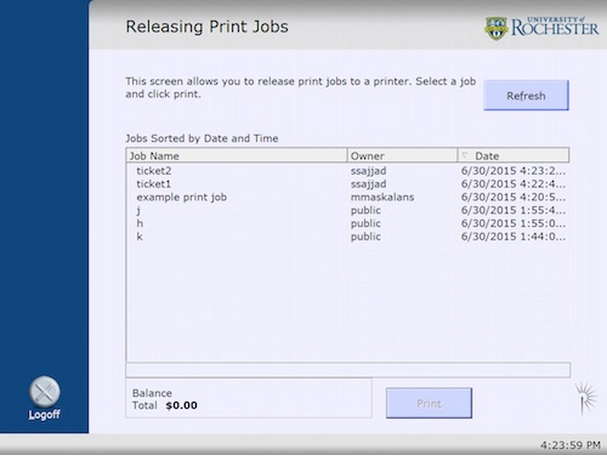
- Select your job from the print queue and select print.
- The printer name will appear at the bottom to tell you where to pickup your document
- Select Log Off to prevent others from using your Flex or Visitor Card account
Important Notes
- Any unwanted print jobs are automatically deleted from the queue 4 hours after submission
- Print Release Stations will automatically log off in 10 seconds if you forget to manually log off.
- In the event of a hardware failure, please contact the IT Help Desk at (585) 275-2000, or fill out the Online Service Form.