Step 1
Before connecting to VPN, remove your previous UR VPN connections (profiles) in other VPN applications or your computer’s built-in VPN client. If you previously used another VPN client to connect to the University network and do not use it to connect to other non-UR networks, uninstall it from your computer.
Step 2
Enroll in Duo two-factor authentication, which is required for VPN access. If you have already enrolled in Duo, skip to step 3.
- Enrollment tutorials and more information about Duo are available on the Duo website.
Step 3
Go to the VPN login page.
Step 4
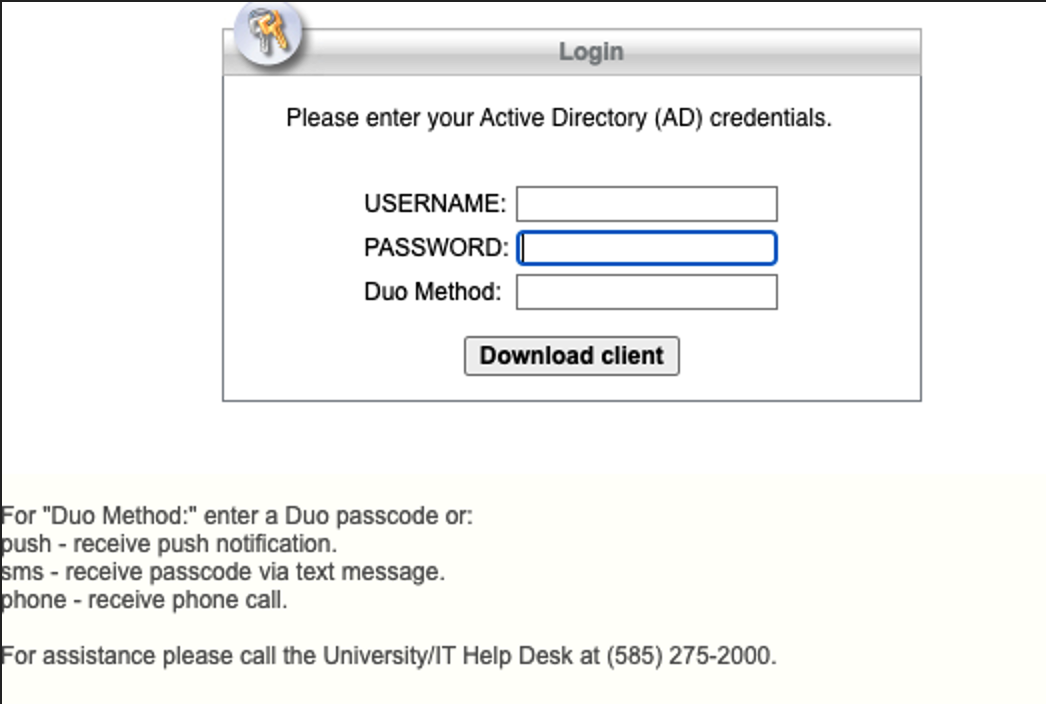
Enter your University Active Directory (UR AD) ID and password. In the Duo Method box, enter one of the following commands to indicate how you would like to authenticate:
- push – Receive a push notification in the Duo Mobile app on your smartphone or tablet.
- sms – Receive an authentication passcode via text message on your mobile phone. Once you have received the text message, re-enter your Active Directory (AD) ID and password on the VPN login screen, then enter the passcode in the Second Password field.
- phone – Receive a phone call—you must press a key to verify you received the call.

Step 5
Click the Manual installation link to download the installer.
Step 6
As a superuser, run the installer script from your download directory (e.g., sudo sh vpnsetup.sh)

Step 7
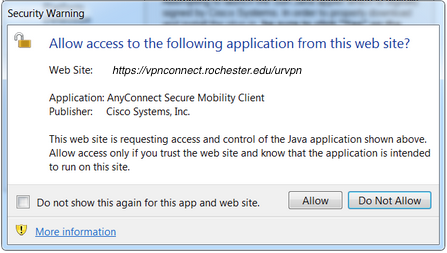
If you are asked to allow Cisco AnyConnect to access your computer, click Allow.

Step 8
The installation will begin, and Cisco AnyConnect will be installed on your computer.
The application can be found under Applications > Internet > Cisco AnyConnect Secure Mobility Client > Cisco AnyConnect Secure Mobility Client

How to Connect or Disconnect
Follow this tutorial to Connect/Disconnect VPN on Linux.