Step 1
Note: The first scan may take several hours and may slightly impact the performance of your computer, so it is recommended to run it at the end of the day when the computer can be left on overnight. Subsequent scans will be much quicker, as only files that have been created or changed since the last scan will be checked.
Launch Identity Finder from the Applications folder on your computer.
Step 2
Identity Finder is preconfigured by University IT with specific settings. To get started with a scan that looks for Social Security, credit card numbers and bank account numbers in your email and all files on locally connected devices (thumb drives and CDROMs included), simply click the Start button in the Identity Finder main window.

Step 3
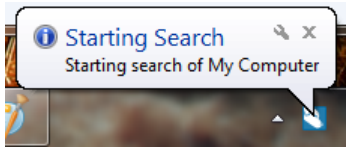
The scan will begin.

Step 4
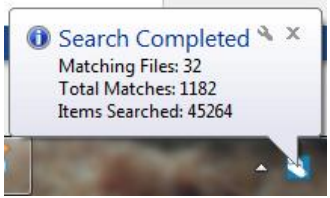
The system tray icon notifies you when the scan is complete, and clicking the notification bubble will bring you to the results list.
Step 5
Follow the steps in the Remediate Results tutorial to review your matches and begin remediation.