Step 1
Before connecting to VPN, remove your previous UR VPN connections (profiles) in other VPN applications or your computer’s built-in VPN client. If you previously used another VPN client to connect to the University network and do not use it to connect to other non-UR networks, uninstall it from your computer.
Step 2
Enroll in Duo two-factor authentication, which is required for VPN access. If you have already enrolled in Duo, skip to step 3.
- Enrollment tutorials and more information about Duo are available on the Duo website.
Step 3
Go to the VPN login page.
Step 4
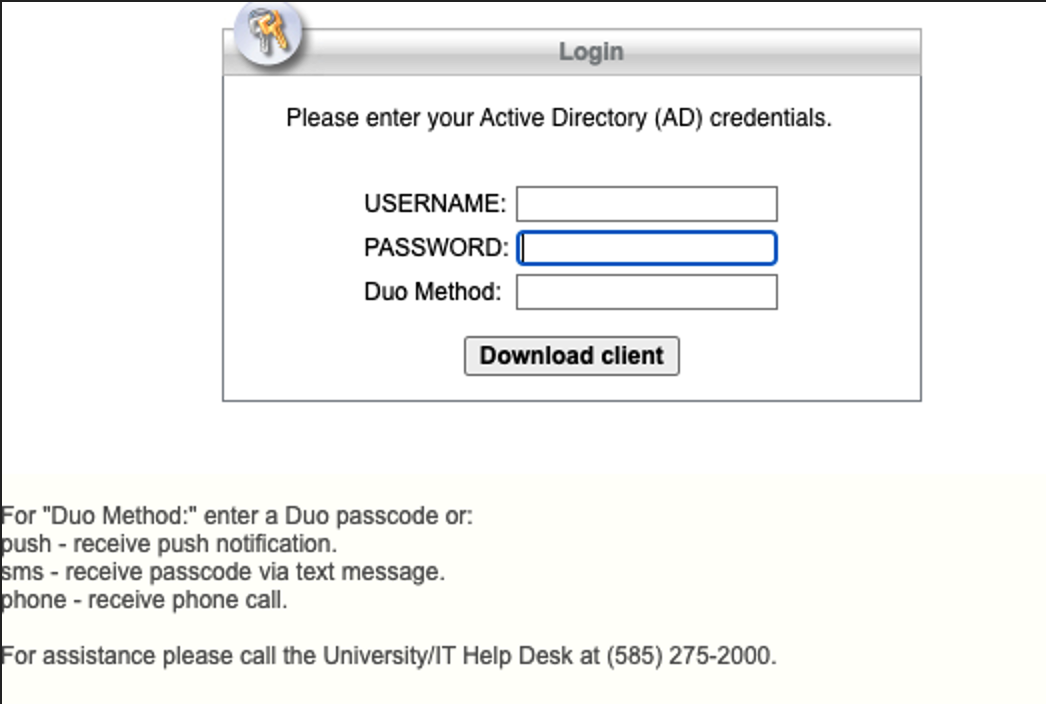
Enter your University Active Directory (UR AD) ID and password. In the Duo Method box, enter one of the following commands to indicate how you would like to authenticate:
- push – Receive a push notification in the Duo Mobile app on your smartphone or tablet.
- sms – Receive an authentication passcode via text message on your mobile phone. Once you have received the text message, re-enter your Active Directory ID and password on the VPN login screen, then enter the passcode in the Second Password field.
- phone – Receive a phone call—you must press a key to verify you received the call.
Step 5
Click download client, then authenticate through Duo on your device.
Step 6
If the installer does not launch automatically, open the Downloads folder on your computer and double-click the AnyConnect dmg file to begin the installation.
Step 7
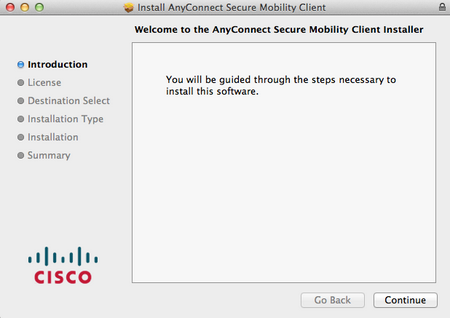
At the AnyConnect Installer welcome screen, click Continue.
Step 8
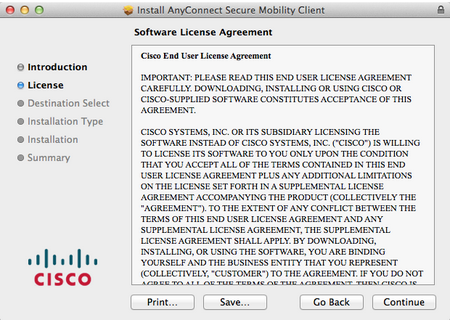
When prompted, accept the End User License Agreement.
Step 9
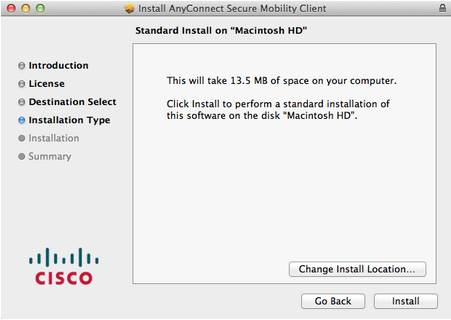
When prompted to select a location for the application to install, click Install. If prompted, enter your login information for your Mac, then click Install Software.
Step 10
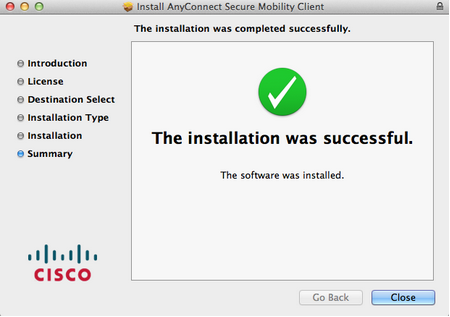
The installation process will finish, and you will now be ready to connect to VPN through Cisco AnyConnect.
How to Connect or Disconnect
Follow this tutorial to Connect / Disconnect VPN on Mac.