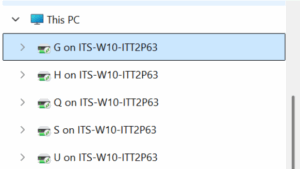
Using File Explorer on your azure virtual desktop you see at the top the drives on your local computer where you can get files that you need if the file transfer permissions are allowed. You can use these to move the files to your desktop or documents folders.
Step 1
Open File Explorer, you should have an icon on the taskbar,
or Start menu.
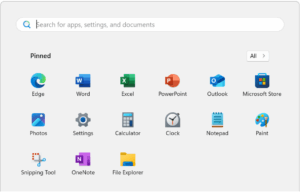
If not, just type explorer after clicking Start.

Step 2
On Windows, the shares should be generally available. On a Mac, you need to select them.
In the Windows app, select the 3 dots next to the desktop you want to share folders to.
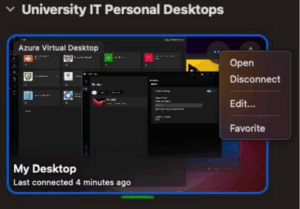
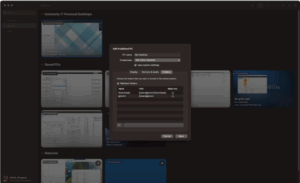
When you click edit, you will get the screen below, where you can set the settings.