Step 1
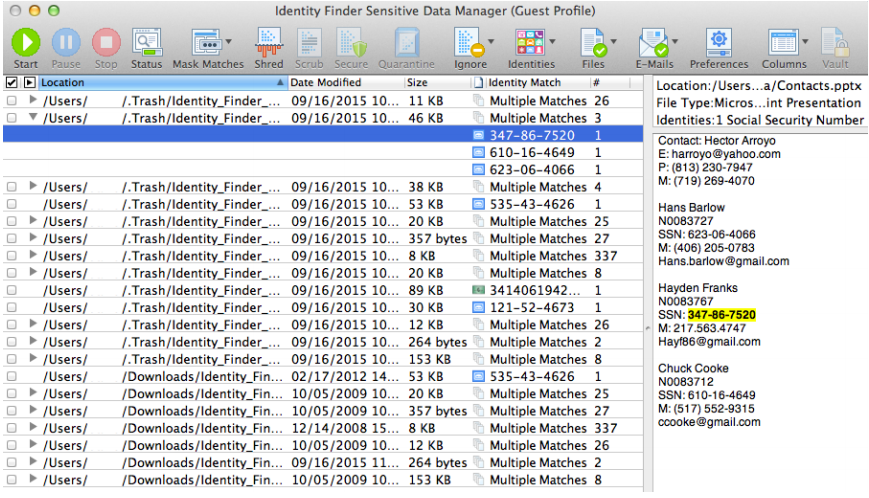
Open the Identity Finder results screen which shows the file location, modified date, size, type of match, and the number of matches. The preview pane on the right shows a portion of the selected document with the results highlighted.

Note: the examples in these screenshots are sample data and do not indicate real identities.
Step 2
Review all matches to determine what action should be taken on each. You can review each in their entirety by right clicking the result and selecting Reveal in Folder.

Step 3
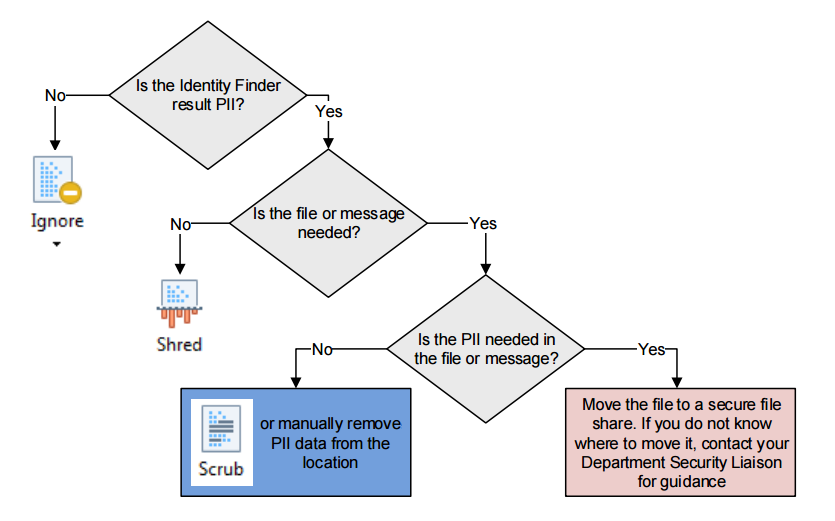
Decide what action should be taken for each item following the guide below:

![]()
Ignore– if an item found is a false positive or is a file that needs to be kept intact, the result can be ignored to prevent it from showing up in future scans. Both identity matches and locations can be added to the ignore list and you will be prompted to select a reason why.
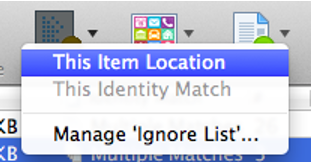
Ignore Item Location: ignore the file or email message containing a match. Select the result, choose Ignore, then choose This Item Location.

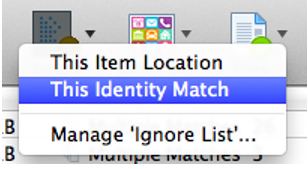
Ignore Identity Match: ignore the specific finding (like an example credit card number). Select the result, choose Ignore, then choose This Identity Match.


Shred– permanently delete the files containing PII securely if the files are no longer needed.
![]()
Scrub– removes PII from a file while keeping the rest of the data intact. This should be used when the PII is no longer needed but the document itself must be kept. Note: email messages, attachments, PDF files and files with .zip archives cannot be scrubbed.
Step 4
For any files that are needed and the identifying information must be kept, determine if the files can be moved to a more secure location such as a department file share.
If the file cannot be moved, do not take any action with Identity Finder. Instead:
- Validate that your PC/Mac is encrypted
- The collection/machine must be reported to University IT