Step 1
Launch the VMware Horizon Client or open a browser to https://desktop.rochester.edu.
Step 2
In the VMware Horizon Client double click the desktop.rochester.edu server.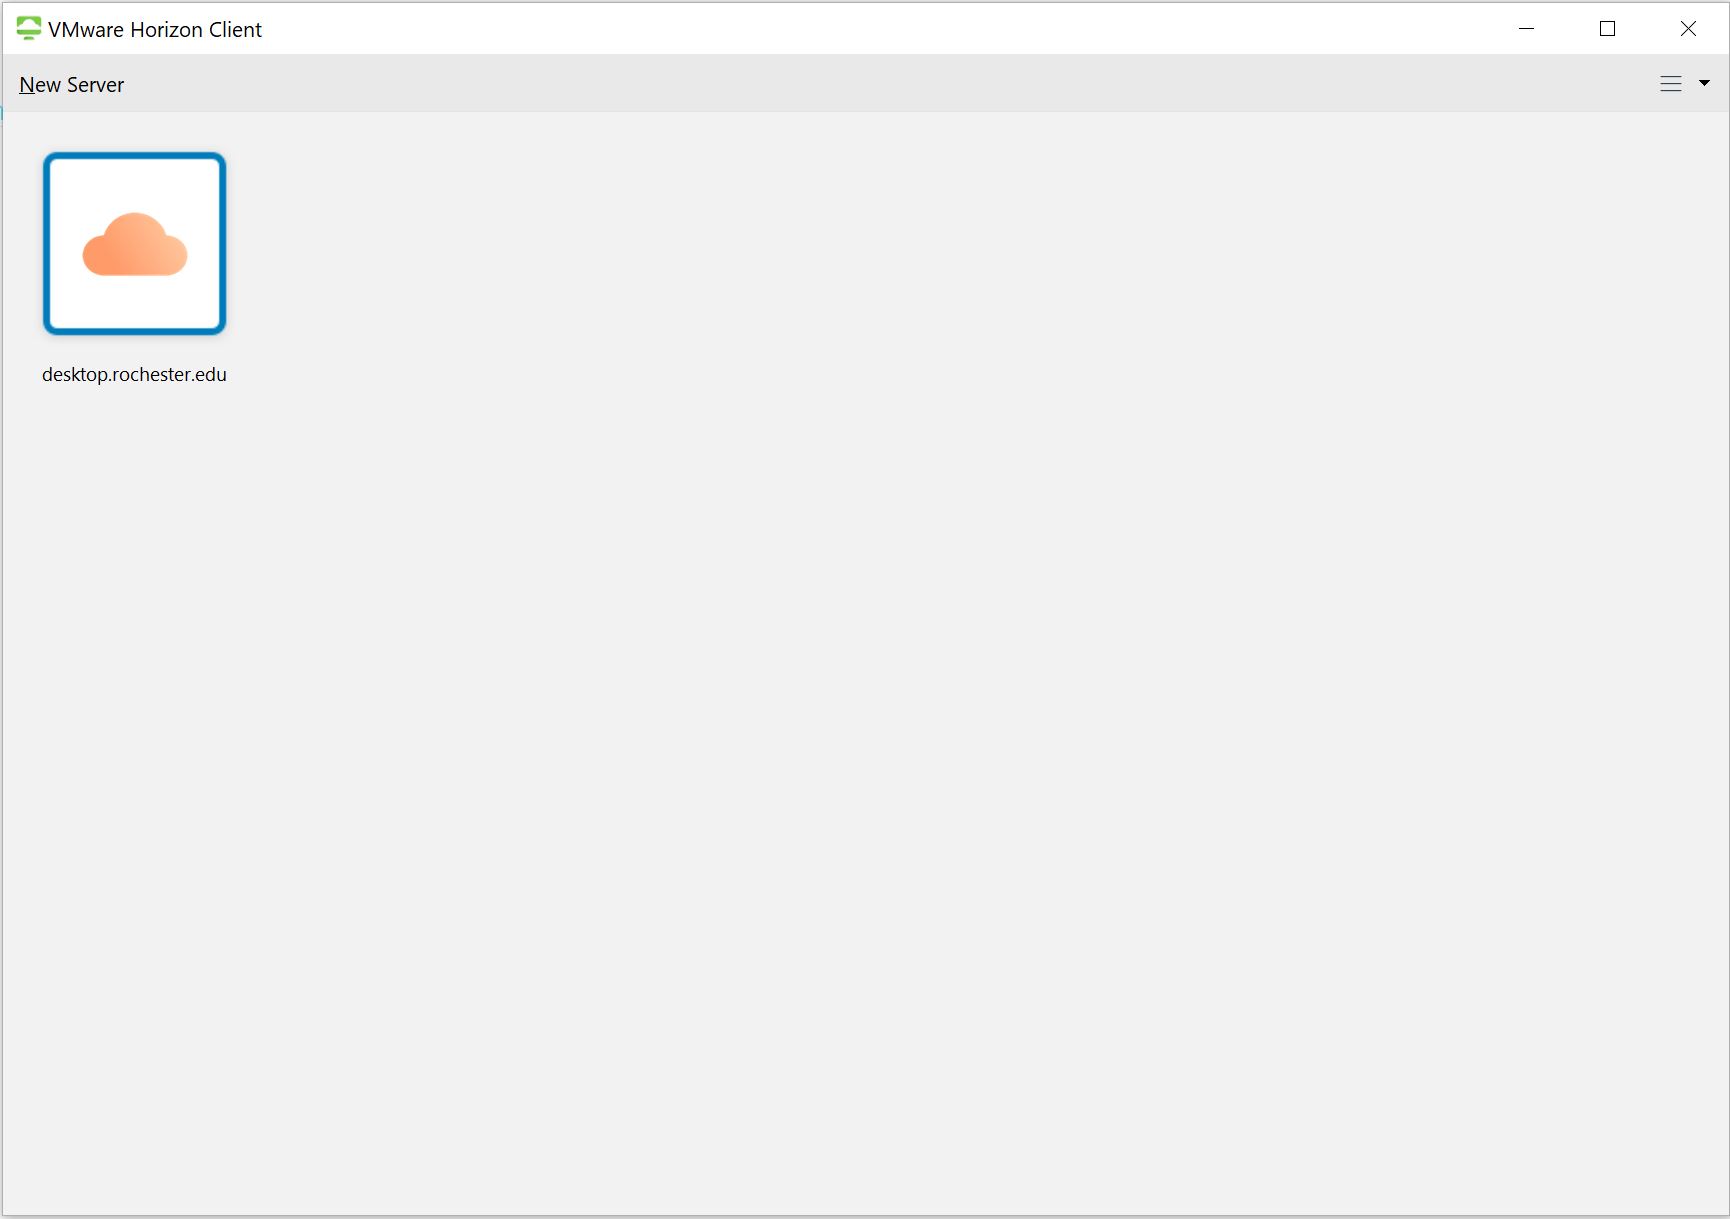
Step 3
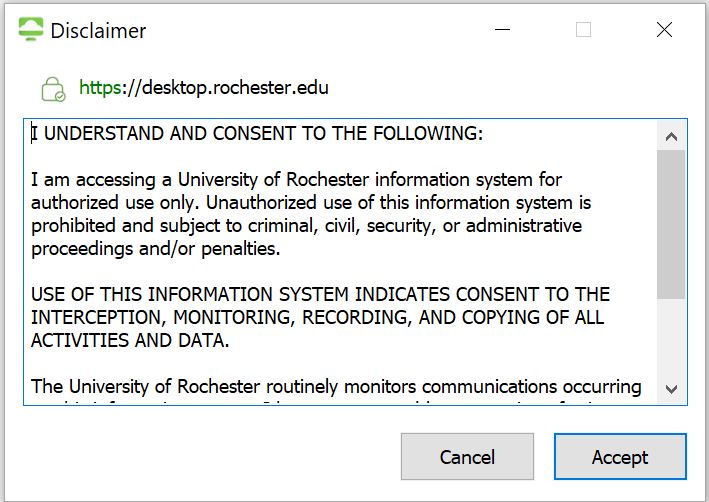
Review and accept the disclaimer.
Step 4
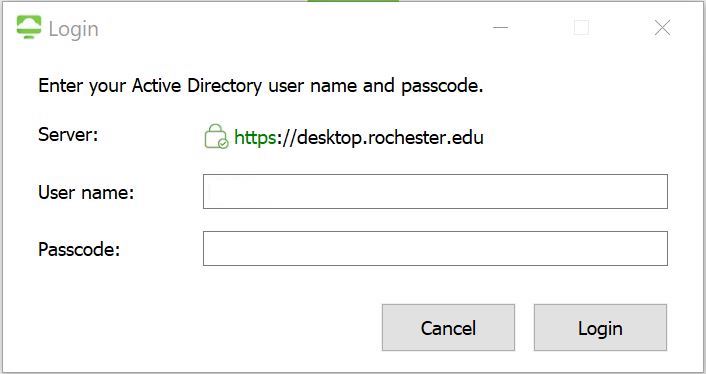
Log in with your UR Active Directory domain credentials.
Step 5
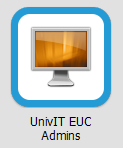
Double-click the UnivIT EUC Admin desktop to log in.
Step 6
Once logged in to the desktop, launch Application Volumes from the shortcut on the desktop.

Step 7
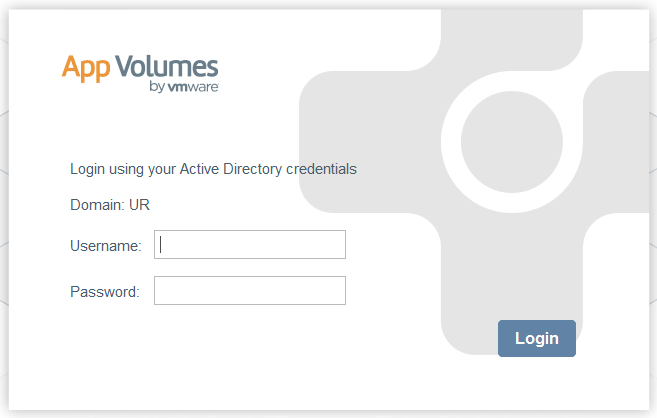
Login with your UR Active Directory domain credentials.
Step 8
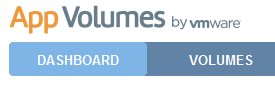
Navigate to Volumes.
Step 9
Click the Create AppStack button.
![]()
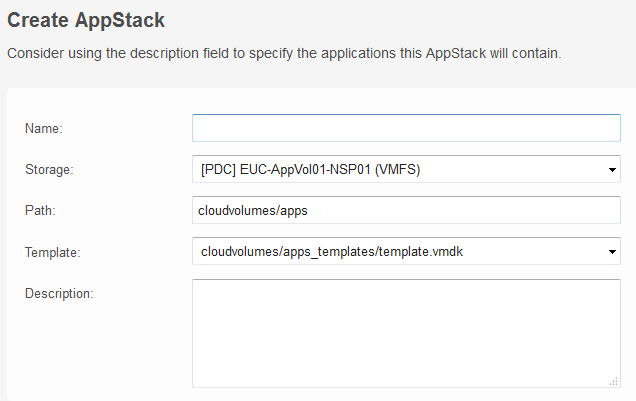
Step 10
Fill in the form with the the name of the AppStack.
e.g., UnivIT Common Software Version 1.3
Select the Storage datastore for your applications.
Step 11
Click the Create button to create the AppStack.
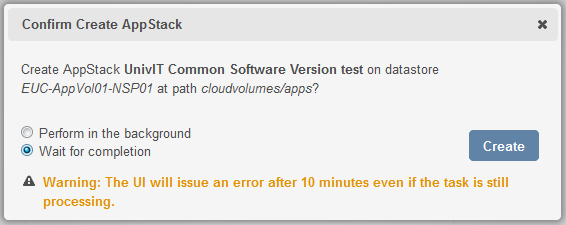
Step 12
Select the “Wait for completion” option to wait for the AppStack to create and click the Create button.
Step 13
Once completed, you are ready to provision the AppStack and install applications.