Step 1
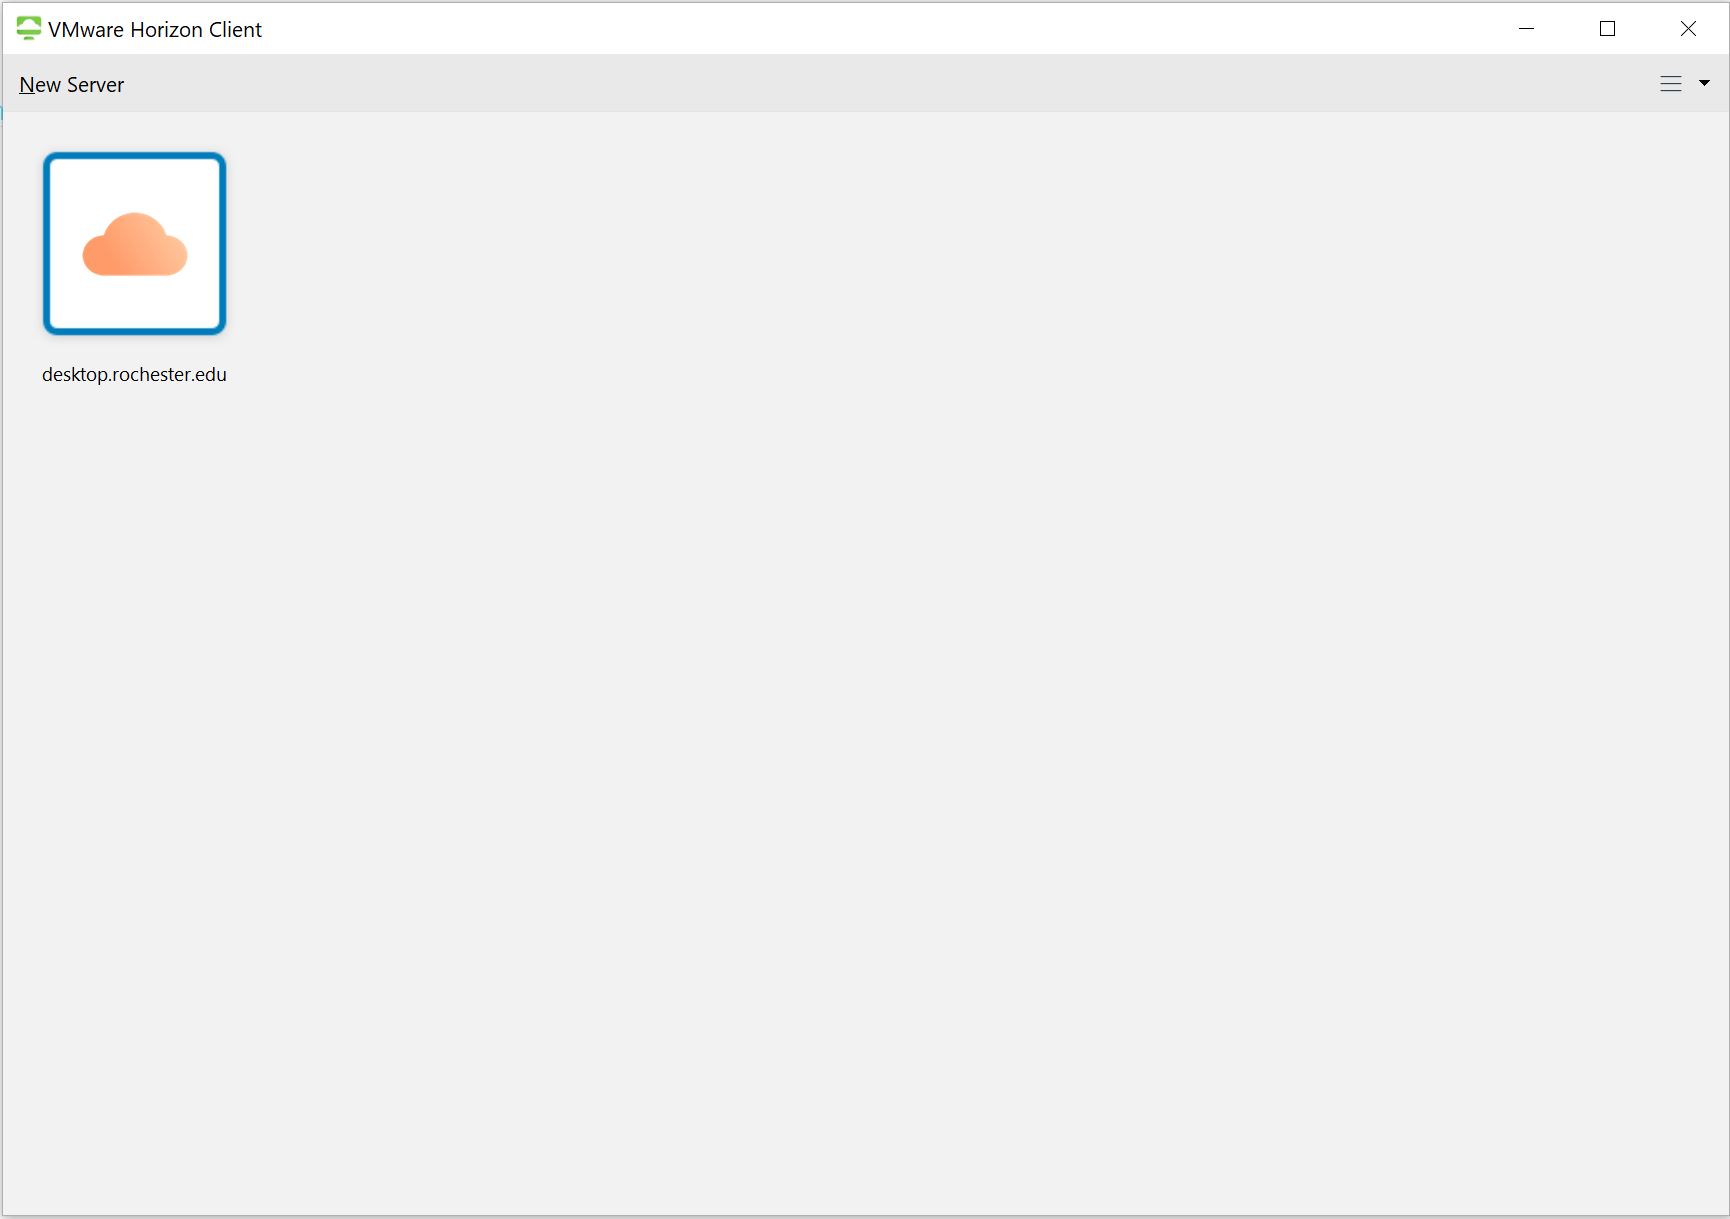
Launch the VMware Horizon Client or open a web browser to https://desktop.rochester.edu.
Step 2
In the VMware Horizon Client, double-click the desktop.rochester.edu server.
Step 3
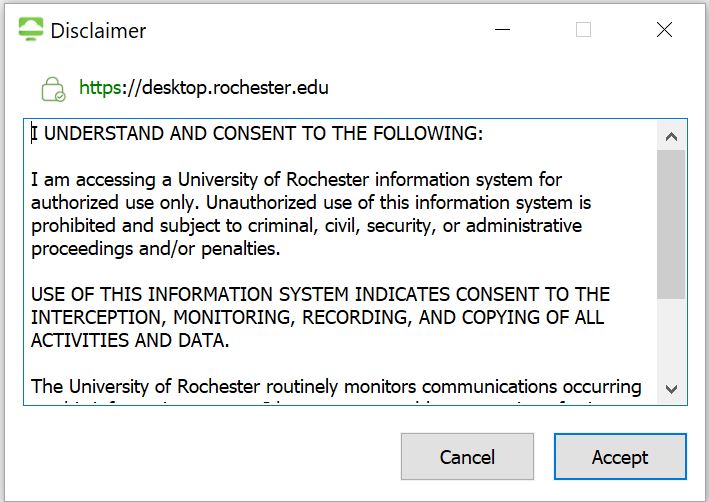
Review and accept the disclaimer.
Step 4
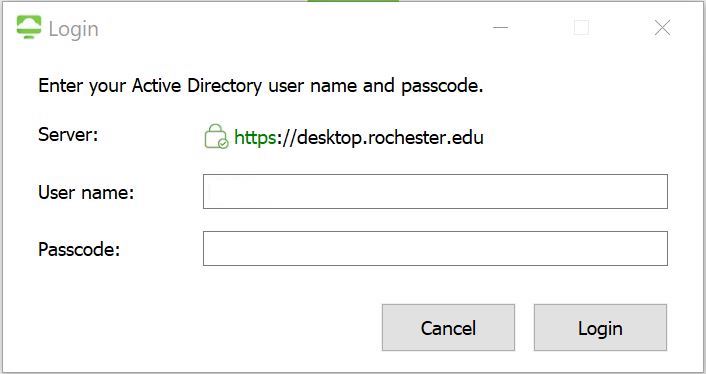
Log in with your UR Active Directory domain credentials.
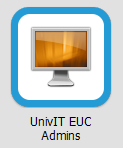
Step 5
Double-click the UnivIT EUC Admin desktop to log in.
Step 6
Once logged in to the desktop, launch Application Volumes from the shortcut on the desktop.

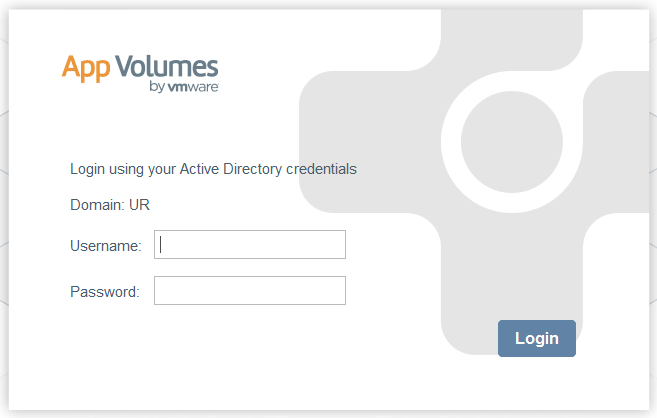
Step 7
Login with your UR Active Directory domain credentials.
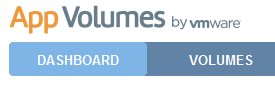
Step 8
Navigate to Volumes.
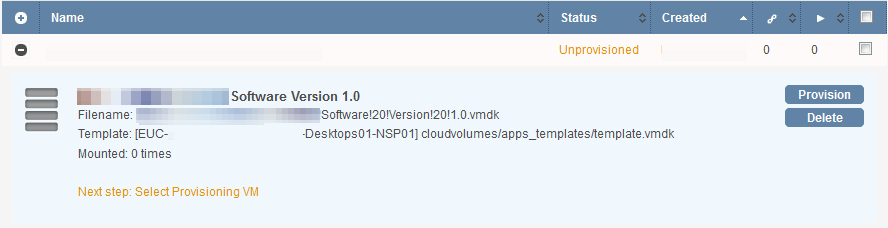
Step 9
Expand the AppStack that needs to be provisioned and click the Provision button.
Step 10
Type the Active Directory computer object name in the Find Provisioning Computer field and click Search.
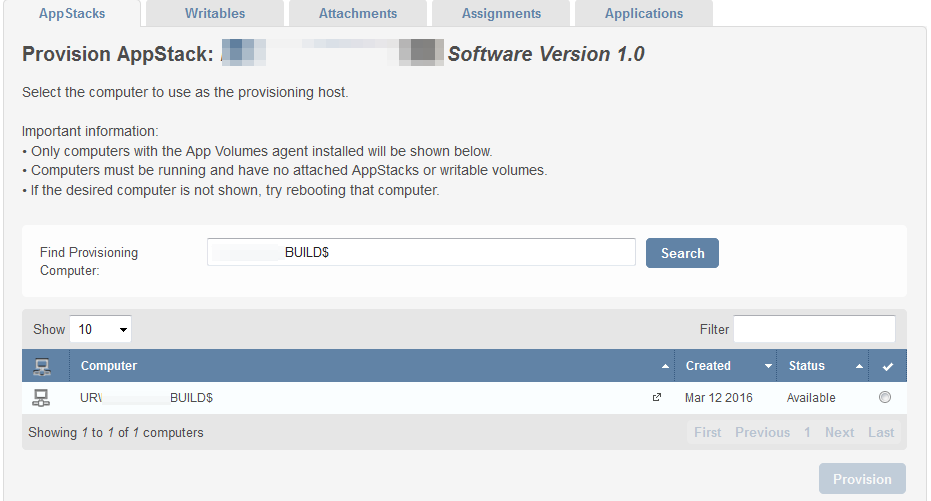
Step 11
Select the matching computer that is available and then click the Provision button.
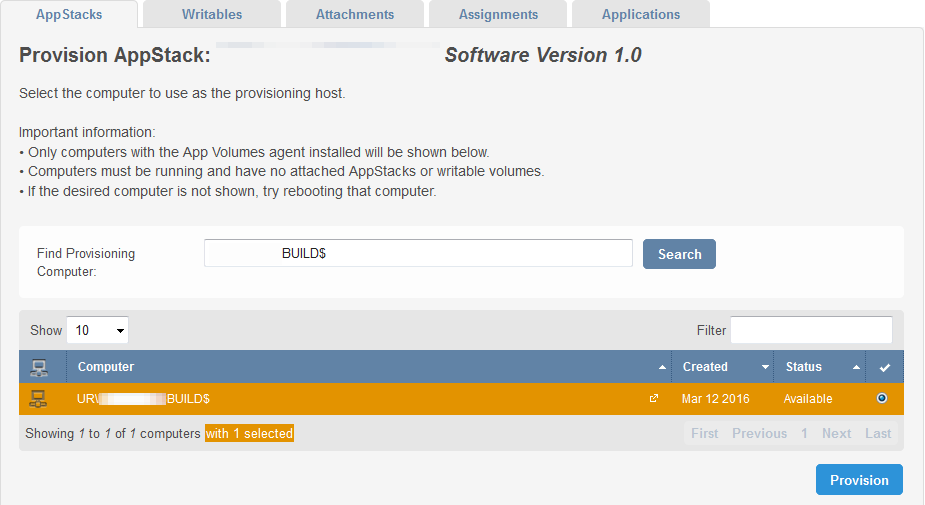
Step 12
Click the Start Provision button.

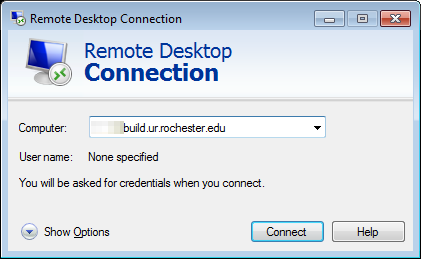
Step 13
Launch Remote Desktop Connection to connect to the provisioning desktop using the FQDN.
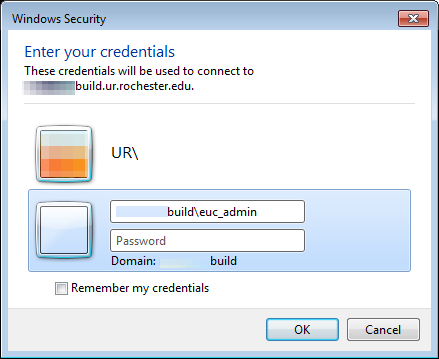
Step 14
Log in using the computer name and local admin account.
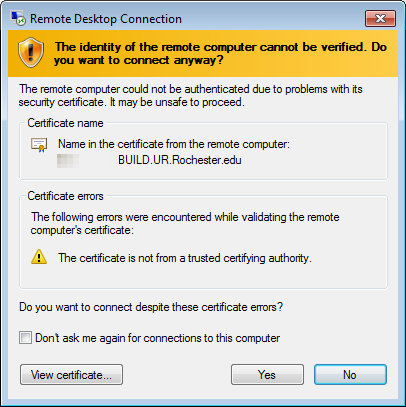
Step 15
Accept the security warning.
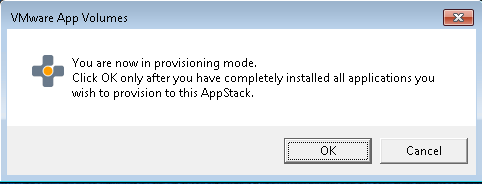
Step 16
Make sure the provisioning mode dialog box is launched. If not, restart the desktop and login again.

Step 17
Install all applications. You may want to do one or two at a time and test, instead of installing them all at once.
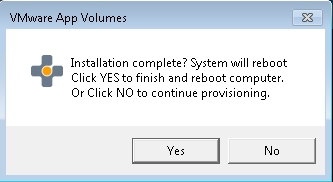
Step 18
When all applications are installed, restart the desktop at least once to make sure all install steps have finished and login again.
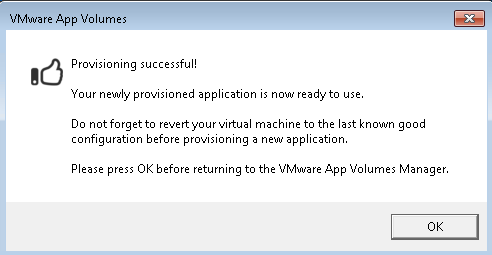
Step 19
Click the OK button on the provisioning mode dialog box to finish provisioning.
Step 20
Click the Yes button on the provisioning mode dialog box to confirm.
Step 21
Click the OK button to acknowledged that the desktop will restart.
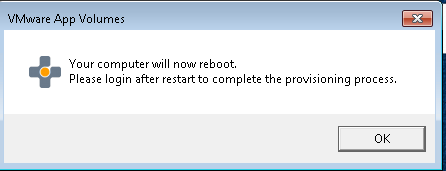
Step 22
Once the desktop restarts, login to the desktop to confirm that provisioning is complete.