Use the Waiting Room feature to see who is joining your meeting before it begins and prevent unintended participants from joining. As the host, you can decide who to let into your meeting and when – or identify a meeting co-host to help manage your attendees. This feature is automatically turned on by default for all Zoom users (starting September 27, 2020) and may be disabled if using the Meeting Passcode option instead. (Both features may be used together, as well.)
Learn more about the Waiting Room on the Zoom Help Center site — see the User section for instruction on how to enable or disable the Waiting Room. Waiting Room settings can be managed for your account, for an individual meeting, or when using your Personal Meeting ID.
Adding a Waiting Room to an Existing Meeting
To add a Waiting Room to a previously-scheduled meeting, locate the meeting in your Zoom desktop application or in your Zoom web portal.
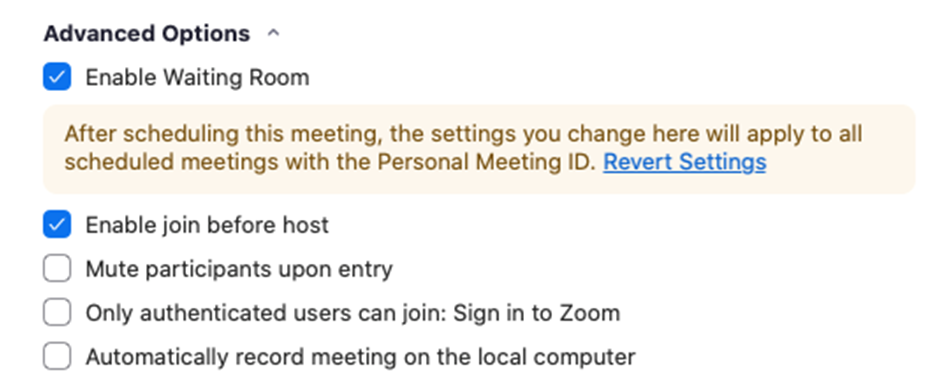
- Edit the Meeting and click to expand the Advanced Options.
- Select Enable Waiting Room – this will apply to all scheduled meetings if using your Personal Meeting ID.
You do not need to update the meeting invitation to your attendees – the invite information does not change when a Waiting Room is added/removed.
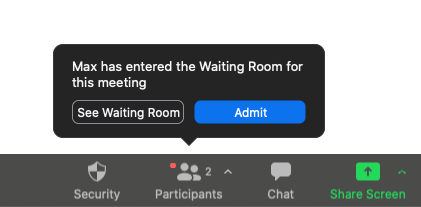
When the meeting begins, the host and the participants will be notified that they are in the waiting room.
Waiting Room guests can also be seen in Participants.
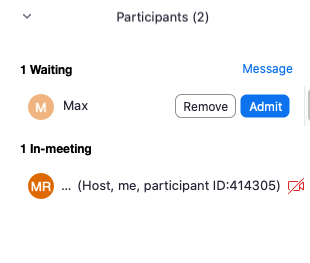
The host or co-host must bring attendees from the Waiting Room into the meeting. Click Admit and begin your meeting.