What does it do?
Identity Finder scans University owned computers for files containing sensitive Personally Identifiable Information (PII) in the form of Social Security Numbers, Credit Card information, and Bank Account Numbers. Once it finds sensitive information, a remediation action must be chosen by the user (the tool does not perform remediations automatically.)
How do I use it?
You can scan your computer by opening Identity Finder and clicking the green start button in the upper left corner.

Let the scan sit while it’s running, it will take a while for the program to work through all the data on your computer. After the scan is complete, you will see a list of the PII the scan found and the remediation actions you can take for each document.

(Note: these results contain fake test data)
What remediation options do I have?
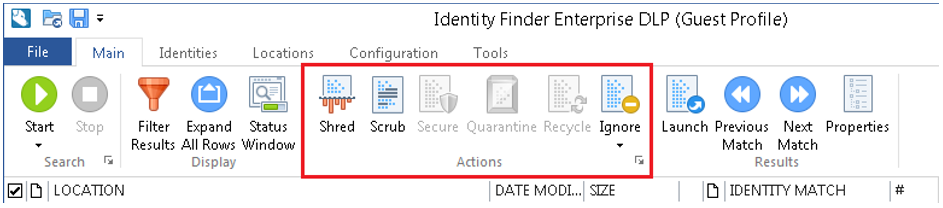
- If the files are no longer needed, Shred (delete) them – even if they are documents that reside in email.
- If the files are needed, but the identifying information is not needed, use the Scrub function in Identity Finder to automatically redact information (replaces PII with X’s.) If the information cannot be Scrubbed, you can also remove the identifying information from the files by hand.
- If the match is a false positive, use the Ignore option within Identity Finder to remove them from the results list. You only have to ignore a file or match once – once the collection is ignored, Identity Finder will NOT flag it in successive runs.
- If the files are needed and the identifying information must be kept:
- Determine if they can be moved to a more secure location such as a department file share.
- If the file can’t be moved, do not take any action with Identity Finder. You must validate that your PC/Mac is encrypted, and you must report the collection/machine to University IT.